Supporting infants and toddlers with transitions

babyblanketThe following post is from information sent to us by Mary Tabb of the Early Childhood Consultation Partnership, which is a wonderful resource that is available to support the social and emotional development of children in your care and in your early childhood program.

Infants and toddlers gain much of their sense of security from familiar adults, items, and routines. They are especially sensitive to change – even the smallest changes can cause stress. Throughout their childcare day, children this age experience multiple changes: drop-off and pick-up, diapering, transitioning between activities, caregivers changing shifts, etc. While many changes are unavoidable, it is important to consider the impact they may have on very young children and to plan ways that will help them learn to cope.

• Try to plan your day with as few transitions as possible. Limiting the number of transitions reduces stress and allows for more free play and exploration. Individualize transitions as possible, based on the specific needs of the children in your care.

• Prepare and guide children through a transition by telling them what is about to happen and explaining what is happing as it is occurring. This includes diapering, feeding, napping, and with any changes in caregivers.

• Infants and toddlers are learning to soothe themselves. Allow access to blankets, stuffed animals from home, family photos or pacifiers during transition times to help them learn this important skill.

• Because toddlers do not understand the reason for changing activities, they often become resistant. The best approach is to give one direction at a time, expect them to only pick up one or two items at clean-up, and use encouragement, redirection and modeling to teach them the skills you would like them to learn.

• Provide extra physical closeness, hugs and holding to help comfort children during times of change.

If you found this helpful, you may also like an earlier post sent to us from ECCP on creating a quiet space for infants and toddlers.
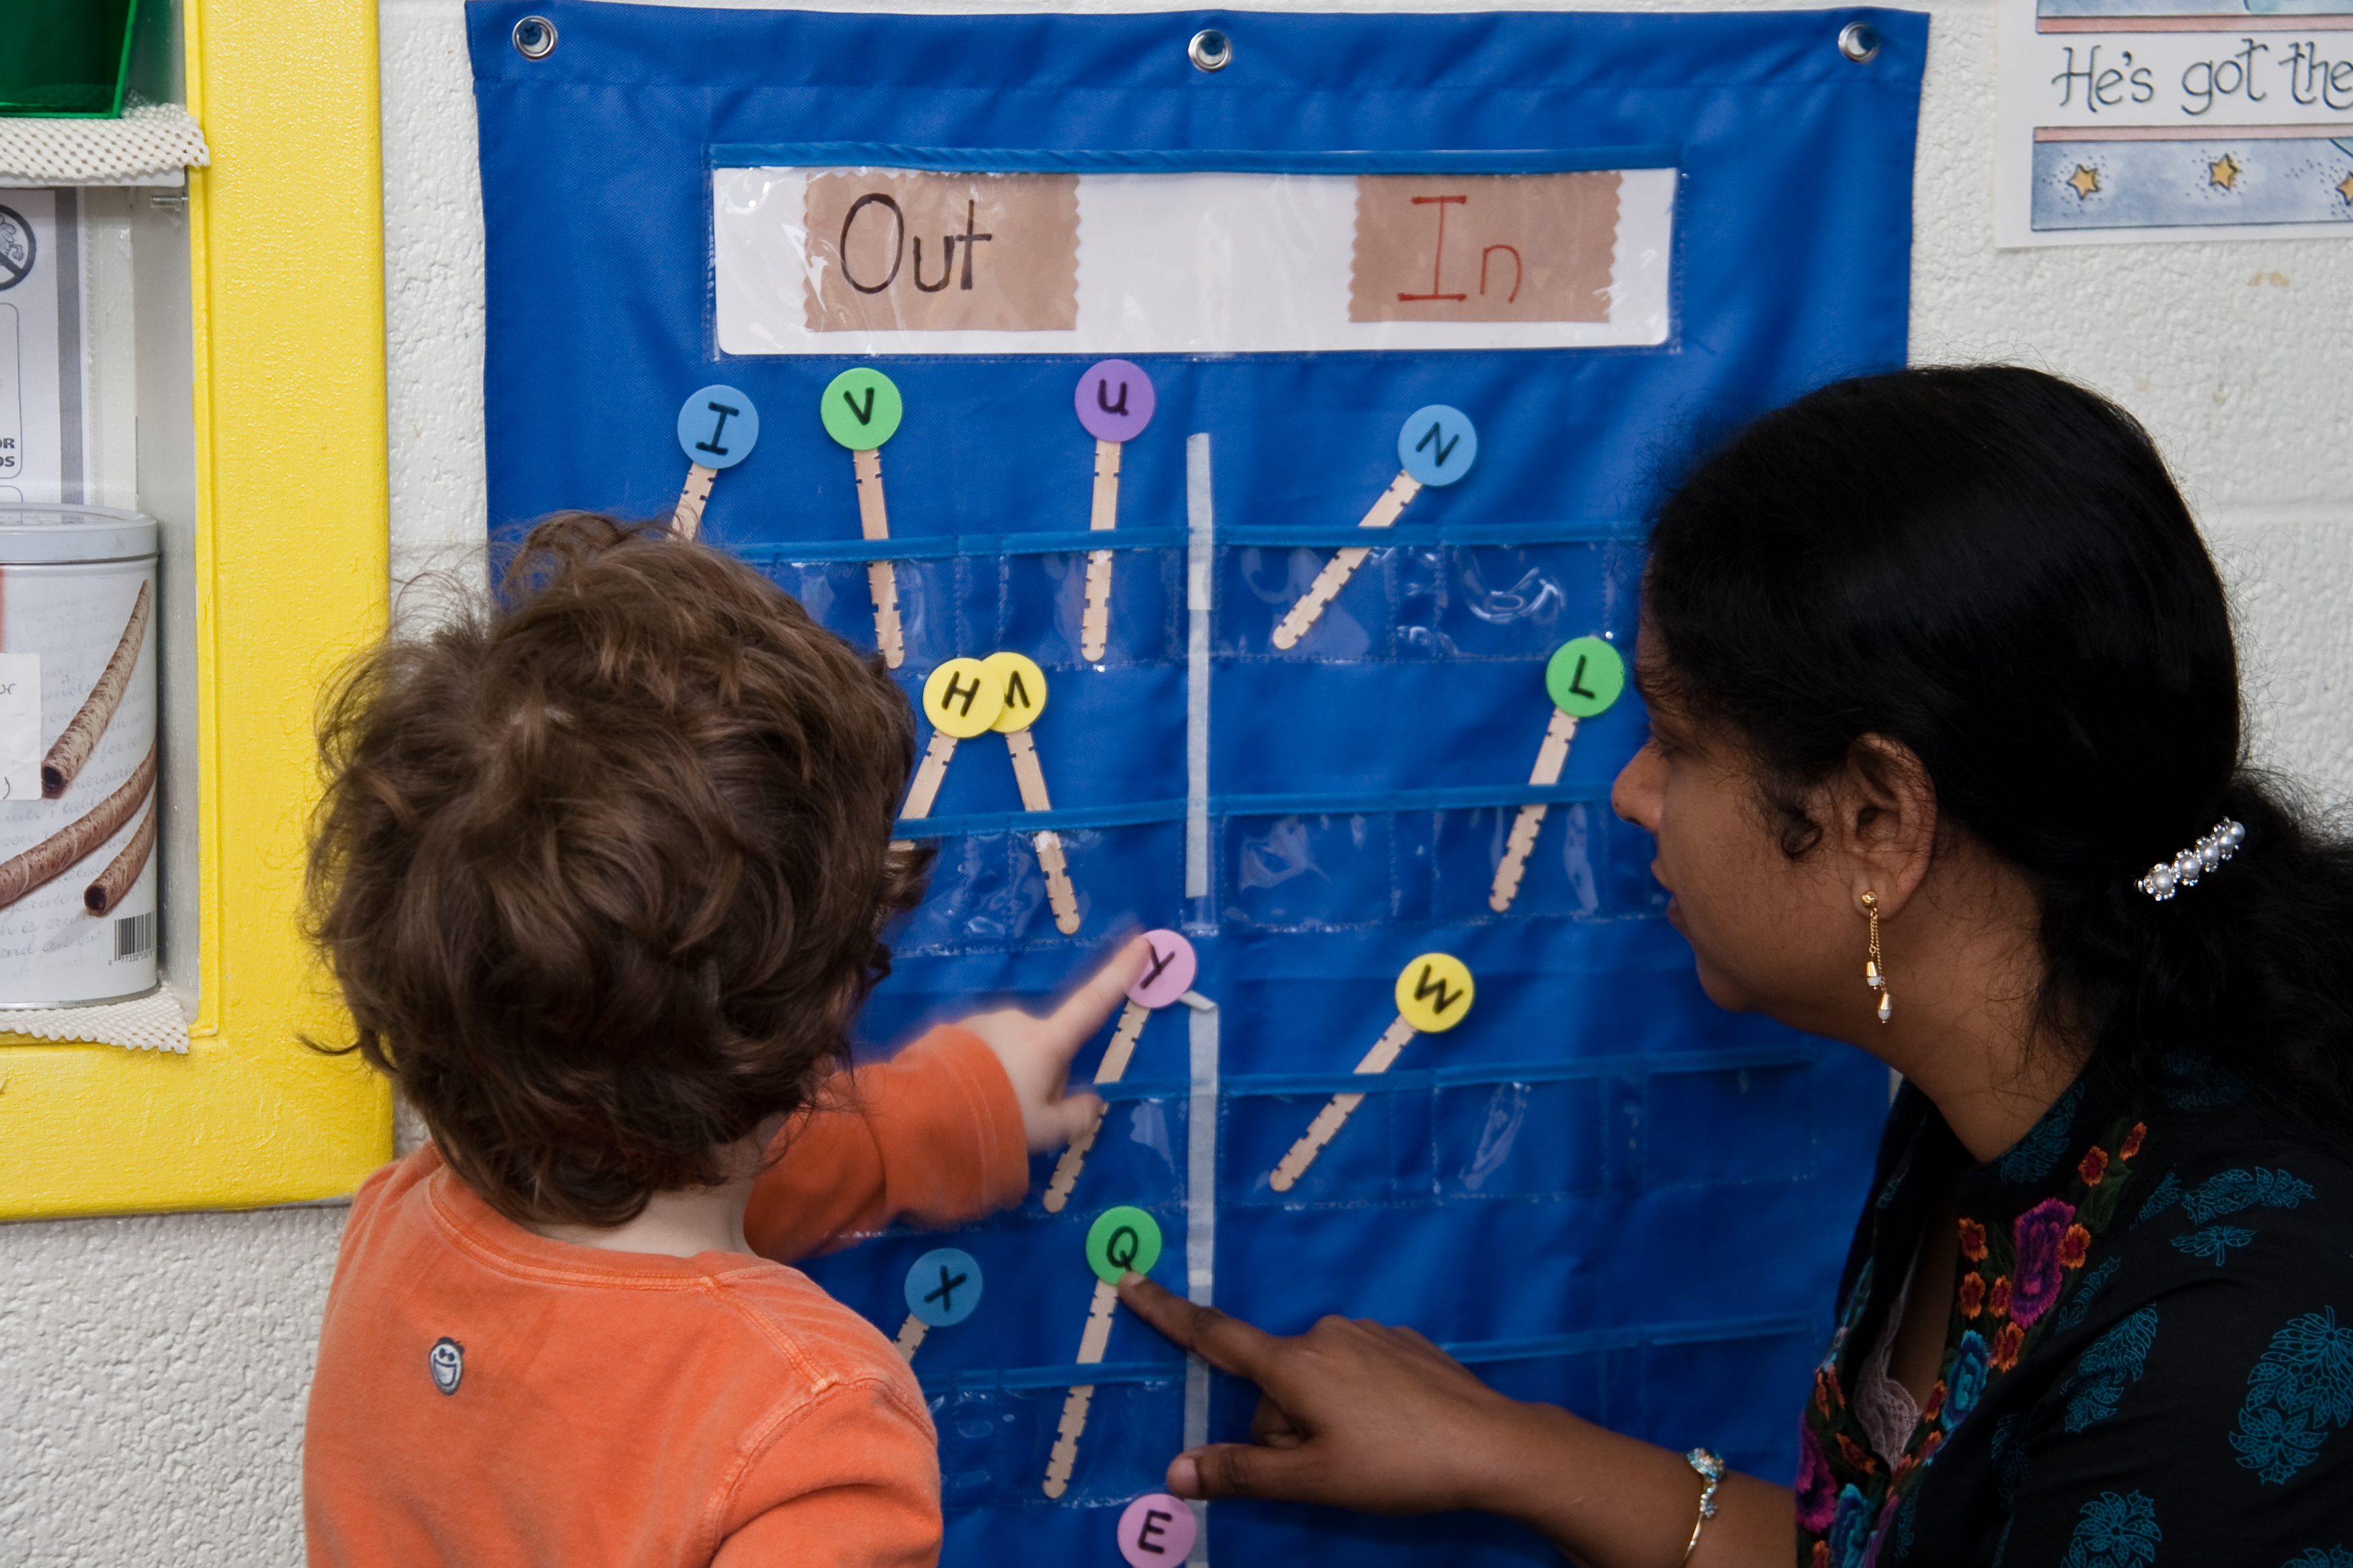
Top photo creditphotostock / FreeDigitalPhotos.net

Resources:
• Transition Magician 2 by Mary Henthorne, Nola Larson & Ruth Chvojicek, (2000)
• Routines and Transitions A Guide for Early Childhood Professionals by Nicole Malenfant (2006)
• Momma Always Comes Home, by Karma Wilson
• The Kissing Hand, by Audrey Penn

Brought to you by:
ECCP
Early Childhood Consultation Partnership©
A program of Advanced Behavioral Health www.abhct.com
Funded by CT Department of Children & Families

Supporting preschoolers with transitions

_MG_6452The following post is from information sent to us by Mary Tabb of the Early Childhood Consultation Partnership, which is a wonderful resource that is available to support the social and emotional development of children in your care and in your early childhood program. We recently posted an article from ECCP about supporting infants and toddlers with transition times in their day. Now, it’s time to provide some ideas to help preschoolers. Though preschoolers are slightly more adaptable to changes in schedule and routine, most children benefit from knowing what to expect.

A full day of preschool demands that children adjust to many transitions. It is important to remember that reducing the number of transitions as well as informing children of the upcoming change helps them feel safe and in control. When children feel safe, they learn better and are more able to control their behavior.

• To create a “Hello” and a “Good-bye” ritual, use a phrase, rhyme or song to greet each child at drop off and again at the end of the day. This may help parents with such transitions too.

• Create a large picture schedule with each of the day’s activities and post it on the wall at children’s eye level. For children who have difficulty transitioning, remind them to go to the schedule and tell you what is next. (IDEA: Help children learn the daily schedule so they can become comfortable and sense what is coming next. Use books and other activities to teach preschoolers the daily schedule routine).

DSC07850

• Prepare children before every transition by telling them what activity will be next. Then give a 5 minute reminder and then 2 minute reminder before making the actual transition. (IDEA: Use of a visual timer can also be very beneficial to help children SEE how much time they have left for an activity so they can be more prepared for the upcoming transition.

• Use visuals, movement activities and songs to signal transitions. Ex. Lights off; hands in the air; sing a clean-up song; pretend to be mice walking in line; use guessing games to help children wait, etc.

• Plan slowing down activities to help children shift from active to quiet activities. Use a slow song with movement, lowering the volume, dimming the lights, and sharing expectations for the quiet activity. (IDEA: Create some relaxation bean bags that can be used with some special movement activities as a bridge from one activity to another).

If you found this helpful, you may also like an earlier post sent to us from ECCP on creating a quiet space for preschoolers.

What types of activities do you do in your classroom to help young children transition?

Resources:
• Transition Magician 2 by Mary Henthorne, Nola Larson & Ruth Chvojicek, (2000)
• Routines and Transitions A Guide for Early Childhood Professionals by Nicole Malenfant (2006)
• Momma Always Comes Home, by Karma Wilson
• The Kissing Hand, by Audrey Penn

Brought to you by:
ECCP
Early Childhood Consultation Partnership©
A program of Advanced Behavioral Health www.abhct.com
Funded by CT Department of Children & Families

Photo credit:
Dennis Brunelle Photography

Using math mats in preschool

math matsAfter seeing an idea for math mats in a magazine, I decided to make some and laminate them for use at our school. Preschoolers can practice counting and shape building with these mats using a variety of different materials. Providing different materials at different times can reinforce and scaffold learning. Here are a few examples of the ways we have used math mats!

Using Play Dough

Provide children with play dough to build outlines of the shapes and numbers. They can work to mold the dough to fill in the shape, or make “lines” with the dough (like making “worms”) and then outline the shape.

math mats

Ask them to roll pieces of playdough into balls and make the same number of play dough balls as each number.

math mats

math mats

Using Small Materials

You can also vary the activity using other materials (such as pom poms, seeds or other small manipulatives). In the pictures, the children used sunflower and pumpkin seeds to outlines the shapes.

math mats

With the pom poms we did an estimating activity – guessing how many pom poms it would take to fill the circle. Then we filled it, and counted to see how close we were.

math mats

Using Pipe Cleaners

This was a more challenging activity, as children tried to bend and mold the pipe cleaners into each shape. We provided pipe cleaners of various sizes.

math mats

You can make up your own mat on colored paper. Laminate the mats with clear contact paper or laminating sheets for durability. They can be placed in the math center with small counting objects – or in the art center, with collage materials and play dough … or BOTH!

math mats

Milky science color explosion

This is a great scientific experiment to do with young children to talk about how different liquids react, and to learn about color names and color blending.

First, we poured milk into a shallow bowl.  Using three different food colors – we placed a drop or two of each on opposite ends of the bowl.   Be sure to add the drops carefully, so they don’t splash.
Milky science

Then, we dipped Q-tips into some dish soap, and placed the soapy end onto one of the dots of color. As soon as the soap hit the milk it reacted and caused the colors to seemingly “explode” in the bowl of milk.  (Steve Spangler Science gives a good scientific explanation as to WHY this happens).

We dipped the Q-tip a few times in the milk onto the other dots to see the reaction.  But after that, once the soap is introduced, the explosive effect is lessened.  But the milk still slowly moved around for awhile, and this was a good opportunity to talk about the colors mixing together.  In our experiment, we used the primary colors (red-yellow-blue) to see the effects of blending to form secondary colors (orange-green-purple).
Milky science

In true scientific fashion, we asked our preschoolers to record and document the results of the experiment by having them draw what they saw happening in the bowl.  This will gave them more time to look at the colors continue to blend, and we talked about what was happening and the colors we saw forming. (You can use our “Milky Science” worksheet, make one of your own, or simply provide paper and crayons to have children document their experiment).
Milky science

We paired this activity with the book “Mouse Paint” by Ellen Stoll Walsh, which introduces color concepts when three white mice jump into three jars of paint!

Milky science

Extending the activity:  Our preschoolers asked questions of what would happen if we put in something OTHER than soap into the bowl of colorful milk (some of their ideas were salt, water and apple juice).  So we took their lead and tried some other things – which is a good time to ask them “what-if” questions, and learn about how other solids and liquids reacted with the milk. So, you can prepare this activity with that in mind and bring in other ingredients to add to the milk and see what happens!

Making sticky collages in preschool

sticky collagesIt’s no secret that I LOVE doing activities with “sticky paper” (AKA: clear contact paper). I usually do “sticky projects” as a small or large group activity. For this project, I decided to have children make an individual piece of artwork, and let them explore and create with the materials as they wished.

To do this, each child had to have their own sticky board. To make the sticky board, I took rectangular cardboard pieces and attached contact paper to them with the sticky side facing UP. To do this … before peeling and exposing the sticky surface of the paper – you cut the contact paper into rectangular pieces, slightly larger than each piece of cardboard. Then, place the contact paper on top of the cardboard, and adhere it to the board with masking tape. Do not peel the shiny side of the contact paper off until you are ready for children to use it.

sticky collages

When you are ready for children to start creating, peel the contact paper and expose the sticky surface.

Some collage items we used were: cut pieces of felt, paint chip samples, tissue paper, twist ties, feathers and foam shapes

The options are virtually endless with this – you can really use almost any type of light-weight collage material.

We gave each child a small piece of cardstock to write their name on. They put this onto their sticky board. Then, we provided a variety of collage materials, and let the children create as they wished!

It was interesting to see how the different children used the materials .. some focused on color, some focused on the type of collage items, and some constructed scenes or objects.

sticky collages

We also used colored duct tape to make a frame on the edges of the boards – and this also reinforced the contact paper onto the cardboard.

Want more Sticky Paper ideas?

Lots of other ideas available on creative ways to use sticky contact paper in preschool! Check out: Making sticky collages

sticky collages4

Making bead mazes in preschool

bead mazesThree simple materials = a great opportunity for children to explore their creativity, problem solving and fine motor skills!

Right after the holidays, I had a lot of large pieces of styrofoam that was used to pack some of our Christmas gifts. Like, nice, solid blocks of styrofoam. Now, like any good preschool teacher, you don’t just THROW that kind of stuff away!

So we decided to use these sturdy styrofoam blocks as the base to make some bead mazes, using pipe cleaners and large beads. I put the materials out and described to the children that they can create their own bead mazes (similar to the kind you can buy at a store). I demonstrated how to stick one end of the pipe cleaner into the styrofoam block and then string beads. Then, I sat back and watched the building begin!

bead mazes

I had 2 classes do this activity … our 3 year old class and a 4 year old class. With the 3 year olds, they each had their own block of stryofoam to work with. This is a great fine motor workout for the younger preschoolers – as some needed assistance with pushing the pipe cleaner into the styrofoam. In some cases, it was helpful to make the hole for them first, and then allow them to put the pipe cleaner into the hole. This was a good independent activity for them, letting them work at their own pace to push in the pipe cleaners and string the beads. Some made elaborate mazes, some just strung a few beads and were finished.

And some children loaded up their pipe cleaners with as many beads as possible. In doing so, they learned that they were not be able to “slide” their beads, and in some cases, this was too heavy for the pipe cleaner. This was an opportunity to problem solve how to fix their maze. The styrofoam allows for the children to build their maze, but easily move the pipe cleaners if they want to change something.

bead mazes

With the 4 year old class, I had them work in pairs. For the older preschoolers, the challenge came not in stringing the beads, but in figuring out how to work together to build their maze. They looped their pipe cleaners over and under, and made some really cool mazes!

This is a great activity to leave setup in a tactile table or bin … allowing children to create, play, take apart and create again!

Making simple cardstock bird feeders in preschool

simple cardstockHalf art project, half nature project – these one-time use bird feeders are very simple and fun to make! We did this activity during our theme on love, friendship and kindness – so we thought about the birds in the wintertime and how we could help them. Looking at our snow-covered ground outside, it was easy for the children to see that the birds would have trouble finding worms or seeds on the ground to eat. So they were happy to have the opportunity to make something that would help them!

To prepare – first we took thin cardstock pieces and can cut them into shapes (we made circle shapes). Then we punched a hole on one side of the shape and tied a piece of string into a loop for hanging.

simple cardstock

Then we had the children decorate one side of their bird feeder with markers and embellished with stickers. In our class, we also made sure each child had their name written on it as well – so we would know whose project was whose. This led to one child asking “If we put our names on it, what if the birds think it’s for someone else and then fly away?”. I thought that was a GREAT question – and we talked a little about that, and we decided the birds most likely couldn’t read and would be just very happy to find the seeds!

Once one side was decorated, we had the children “paint” on the blank side with corn syrup (which is nice and sticky). The corn syrup is thick, and the children had to work a little harder to spread it than they would if they were painting with paint. It’s was a good fine-motor muscle workout!

simple cardstock

Lastly, the children sprinkled birdseed on top of the corn syrup. Then we shook off the excess and put them aside to harden. We asked each child to take home their feeder to hang outside for the birds – can’t wait to hear if their feeders had any visitors over the weekend!

simple cardstock

Team Building for Preschool Teachers

teambuildingToday I’m going to give you some ideas for team building with your teachers and staff at your school or early childhood program. These fun activities provide a way for your staff to feel more together as a team, and feel a sense of group morale.

In this video clip (filmed for ehow.com), I will share 3 team building activities that you can do at your next staff meeting or professional development session.


Song Battle

For this activity, all you have to do is get your groups together and in ten minutes, see how many songs each group can come up with that have the word “RAIN” in it. If you have some real music lovers, this might come easy, but it’s just a fun activity, and a little competitiveness between groups is always fun.

All About Me Poster

A second activity that we like to do at the beginning of the school year is have each teacher fill out an “All About Me” poster (see example in the video). You may already use these posters with the children in your program … but how about your staff! We include things like their education, three fun facts about themselves, their favorite color, their favorite book, their favorite holiday, their favorite food, and of course some tidbits about their family. It’s a really great way to share information about yourself to your colleagues and families within your school.

You can make up your own “All About Me” poster or purchase some online:

All About Me Posters (Discount School Supply)

The Human Taco

The third activity that I have, which is really fun to do at a staff meeting is called the human taco. You’re going to want to do a little preparation before your meeting – by printing pictures of taco shells, salsa, lettuce, cheese, taco meat. Then what you do is you have all of these pictures copied numerous times for the amount of people that you have within your group. Then each person will choose one of these and tape it to their back. Now you want to do this in a way that they don’t know what picture is on their back.

Then what you’re going to do is tell your group in two minutes you want them to build a human taco by lining up without talking. So what they need to do as a group is to line up with no words, in this pattern … taco shell, taco meat, cheese, lettuce, salsa and then end with a taco shell. It’s really fun to watch your group run around the classroom without talking, and seeing which group can become the first taco!

team-building-blog

Making color collage discovery bottles in preschool

color collage discovery bottlesMost preschool teachers I know LOVE discovery bottles! We like to find all kinds of ways to make them engaging and interesting for children to explore. We search for interesting objects to put in them. We search Pinterest to get new ideas. We hoard (ah, I mean, COLLECT) and save our empty water bottles for when we are ready to make our next batch.

So, last week, I thought it would be fun to get the children to make discovery bottles for their classroom. Engaging children in the process of making colorful collage discovery bottles is a good activity for learning colors and a great opportunity to practice sorting.

First, I collected enough clean (and emptied) water bottles for each child. Then I gathered a variety of small collage items – small enough to fit into the opening of a water bottle.

color collage discovery bottles

When we were ready to sort, I set out pieces of colored construction paper (representing the colors of the collage materials) onto tables.

Each child had a small container filled with a selection of the collage items and they went around the room and matched each item to a colored paper. Using the colored construction paper was helpful for our young preschoolers to see if their color matches as they sorted.

color collage discovery bottles

After all items have been sorted, each child chose a color and filled a bottle with only items of that color. We talked about the different shades of the colors (i.e.. some items are light blue, some are a darker blue … but ALL the items are blue).

Once filled, we put the caps on and placed them in our science area for future exploration. You can choose to hot glue the caps so the bottles can’t be opened again – but you can also choose not to (since there is nothing liquid or messy in them), and allow children to try to empty and refill bottles.

To add additional challenge to this activity … instead of using colored paper for the sorting process, have white paper with the color words written on them. This will reinforce the color sight words as the children match their colored items to the correct color word.

When children make the discovery bottles themselves, they take more ownership and interest in them. They can talk about what they filled their bottle with, how the items felt, and what the bottle sounds like when they shake it!

Giving from the heart for the heart

heartAnnouncing … The Heart Project! A true labor of love organized by Jamie at Hands on : as we grow – this project is dedicated to raising funds and awareness for the American Heart Association. We have been collaborating with more than 70 childhood bloggers to create an eBook showcasing craft ideas all about HEARTS!

This eBook is filled with over 100 gorgeous heart-shaped crafts, with links to the instructions on each crafter’s blog. The eBook will be your gift with every five ($5) dollar (U.S funds) donation to the American Heart Association throughout the entire month of February. Downloads to the eBooks will be available on participating blogs as of February 1, 2012. We hope you will join all of us in our efforts to raise $1,000 by Valentine’s Day for the AHA!

We contributed our “Bumblebee of Hearts” image to the book. Below is a preview of some of the other beautiful ideas in the book. The book makes a great gift for your favorite crafter or your kids – and would also make a great addition to a classroom resource library!

This eBook is no longer available for purchase – project ended in February in 2012

However, you can make a donation directly to the American Heart Association: